
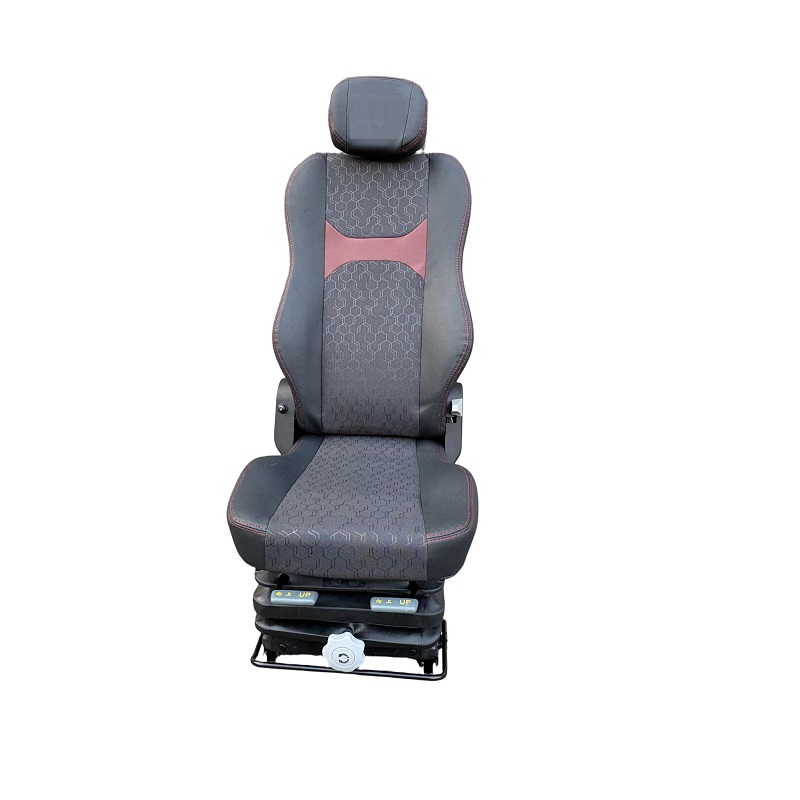
Comparing what’s in your cab versus what you can buy
Most stock seats look fine on paper but they wear fast under real work. Swap one in and you’ll notice the difference—less bounce, better lumbar support, and fewer stops for stretches. If you run vehicles off the beaten path, check options for offroad seats early; those designs carry over well to delivery trucks and service rigs because they add suspension seat elements and better foam density where it counts.
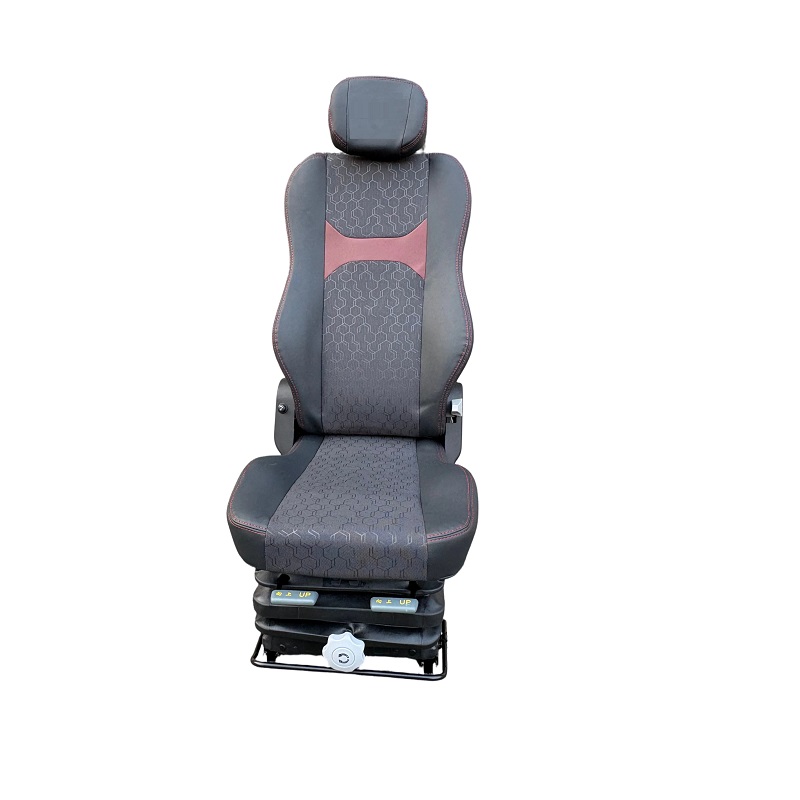
Cost, downtime and operator comfort — the practical comparison
Think of this like a trade-off chart: OEM bench seats are cheap up front but can mean more sick days and slower shifts later. Aftermarket replacement truck seats cost more at purchase but cut downtime by reducing back pain and vibration exposure. In warehouse hubs like the Port of Los Angeles, crews on long runs notice this quickly — they trade a shaky day for steady control when the right seat’s fitted. Suspension seat setups and improved vibration isolation matter here; they’re not luxuries, they’re work tools.

Installation and common mistakes — keep it simple
Too many shops overcomplicate fitting. The usual slips are: wrong mounting bracket, ignoring seat belt anchor points, and picking foam that’s either too soft or too hard. Don’t do that. Match the mounting bracket pattern first, then check seat belt fit and clearance. If you deal with forklifts, consider a tailored forklift seat spec — those seats handle lateral stress and frequent swivel better than generic truck seats.
Alternatives and real-world trade-offs
There are three clear paths: repair the old seat, upgrade to a basic replacement, or go for premium suspension models. Repair can be fine for short runs, but repeated foam breakdown and torn upholstery put you back at square one. Basic replacement seats improve padding and lumbar support immediately. Premium models add suspension and adjustable armrests — invest if operators spend the day in the cab. Choose based on hours-per-day and the type of terrain your fleet faces.
Quick checklist before you buy
Keep this tight: 1) Verify mounting bracket compatibility; 2) Confirm seat belt and swivel functionality; 3) Prefer higher foam density in the seat pan if you do repeated stops. Also look for built-in lumbar support and simple adjustment levers — complex electronics add failure points. A good shop will demo a seat for a single shift so you can feel the difference — that’s worth the time.
Common myths, busted
Myth: All replacements are the same. Nope. Foam density, lumbar curve, and suspension travel change everything. Myth: Cheaper means “good enough.” Not on long routes—the seat that saves a few minutes of discomfort saves dollars in reduced injuries and overtime. The math is simple: fewer pauses for pain means steadier productivity. — You’ll see this on routes that hit rough urban streets every day.
Three critical metrics to judge a replacement
1) Ergonomic Fit Score — measurement of lumbar support range and seat pan contour. You want adjustability that matches different driver sizes. 2) Vibration Reduction Percentage — how much the seat cuts vertical/ lateral vibration versus stock; manufacturers usually state this, so check specs. 3) Durability Rating — look at expected foam compression after 12 months of daily use and whether the mounting bracket uses hardened steel hardware. These three metrics tell the real story fast.
Pick a seat that fixes the weak link in your operation and you’ll get fewer complaints, less downtime, and lower long-term costs. Source One. — Proven gear that fits the job.